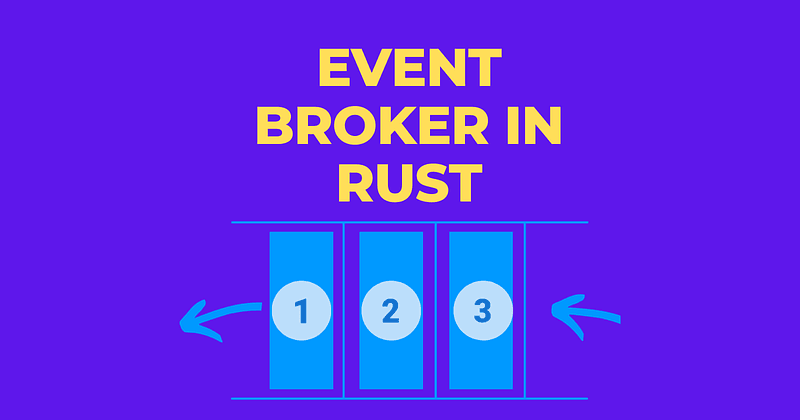
In this step-by-step guide, we're diving into the exciting world of building a simple event broker using Rust.
An event broker is like the heart of many modern software systems, ensuring information flows efficiently between different components. We'll explore essential concepts such as topics, event production, consumption, and even real-time event subscriptions.
So, grab your Rust-cap and let's embark on this coding journey!
Prerequisites
Before we get our hands dirty with code, ensure you have Rust installed on your system. If you haven't already, you can easily grab it from the official website: Rust - Install.
Step 1: Setting Up the Project
Let's start by creating a new Rust project. Open your terminal and run the following commands:
# Create a new Rust project
cargo new rust_event_broker

# Change into the project directory
cd rust_event_broker
Step 2: Adding Dependencies
Our event broker will use several libraries to handle HTTP requests and WebSocket connections. Add these dependencies to your Cargo.toml file:
[dependencies]
warp = "0.3"
tokio = { version = "1", features = ["full"] }
serde = "1.0"
serde_derive = "1.0"
serde_json = "1.0"
reqwest = "0.11"
To ensure we have the required libraries, run cargo build.
Step 3: Designing the Event Broker
In our event broker, we'll use the concept of topics to categorize events. Events are associated with specific topics, allowing clients to subscribe to and receive events related to their interests. We'll create a Broker struct to manage topics and events.
Here's a simplified Broker struct:
use std::collections::{HashMap, VecDeque};
use std::sync::{Arc, Mutex, RwLock};

type Event = String;
type Topic = String;

struct Broker {
    storage: Arc<RwLock<HashMap<Topic, VecDeque<Event>>>>,
}
Step 4: Implementing Event Production
To produce events, we need an HTTP endpoint. We'll use the warp library to create HTTP routes. Here's a simplified produce_event function:
    async fn produce(&self, topic: Topic, event: Event) {
        let mut events = self.events.write().unwrap();
        events.entry(topic.clone()).or_insert_with(VecDeque::new).push_back(event.clone());

        // Notify all subscribers asynchronously.
        let subscribers_list;
        {
            let subscribers = self.subscribers.read().unwrap();
            subscribers_list = subscribers.get(&topic).cloned().unwrap_or_default();
        }

        for ws_sender in subscribers_list {
            // Attempt to send the event to the WebSocket client.
            let _ = ws_sender.send(warp::ws::Message::text(event.clone()));
        }
    }
We'll add the full implementation details for producing and consuming events later in the guide.
Step 5: Implementing Event Consumption
To consume events, we'll create another HTTP endpoint. Here's a simplified consume_event function:
    pub fn subscribe(&self, topic: Topic, socket: warp::ws::WebSocket) {
        let (ws_sender, mut ws_receiver) = socket.split();

        let (tx, mut rx) = mpsc::unbounded_channel::<Message>();

        {
            let mut subs = self.subscribers.write().unwrap();
            subs.entry(topic).or_insert_with(Vec::new).push(tx);
        }

        tokio::task::spawn(async move {
            while let Some(Ok(_message)) = ws_receiver.next().await {
                // Here you can handle incoming messages from clients if needed
                // For now, it does nothing with incoming messages.
            }
        });

        tokio::task::spawn(async move {
            let mut sender = ws_sender;
            while let Some(msg) = rx.recv().await {
                let _ = sender.send(msg).await;
            }
        });
    }
Step 6: Building HTTP Routes
We'll define our HTTP routes using warp:
#[tokio::main]
async fn main() {
    let broker = Arc::new(Broker::new());
    let broker_for_producer = Arc::clone(&broker);
    let broker_for_subscriber = Arc::clone(&broker);

    let produce = warp::path!("produce" / String)
        .and(warp::post())
        .and(warp::body::json())
        .and(warp::any().map(move || Arc::clone(&broker_for_producer)))
        .and_then(move |topic: String, event: Event, broker_clone2: Arc<Broker>| {
            async move {
                broker_clone2.produce(topic, event).await;
                Ok::<_, warp::Rejection>(warp::reply())
            }
        });

    let subscribe = warp::path!("subscribe" / String)
        .and(warp::ws())
        .map(move |topic: String, ws: warp::ws::Ws| {
            let broker_clone3 = Arc::clone(&broker_for_subscriber);
            ws.on_upgrade(move |socket| {
                async move {
                    broker_clone3.subscribe(topic.clone(), socket);
                }
            })
        });

    let routes = produce.or(subscribe);

    println!("Broker server running at http://127.0.0.1:3030");
    warp::serve(routes).run(([127, 0, 0, 1], 3030)).await;
}

Step 7: Running the Server
Finally, we'll run our event broker server:
warp::serve(routes).run(([127, 0, 0, 1], 3030)).await;
You can now test your event broker by using tools like curl or WebSocket clients. For example:
- To produce an event:
curl -X POST -H "Content-Type: application/json" -d '{"event": "Event Data"}' http://localhost:3030/produce/<topic> - To consume an event:
curl http://localhost:3030/consume/<topic> - To subscribe to a topic using WebSocket: Connect to
ws://localhost:3030/subscribe/<topic>.
Writing Tests for the Broker
Before we discuss the tests, let’s briefly review the Broker’s structure and purpose:
- Broker Structure: The Broker holds two main components:
events: a hash map where topics map to a queue of events/messages.subscribers: a hash map where topics map to a list of WebSocket subscribers.
- Broker Functions:
produce: This function allows messages to be sent to a specific topic.subscribe: This function allows a WebSocket client to subscribe to a topic.
Breaking Down the Tests
Test Module Structure
#[cfg(test)]
mod tests {
    use super::*;
    ...
}
The #[cfg(test)] attribute specifies that the following module, tests, should only be compiled and run when testing. use super::*; imports all the necessary elements from the parent module.
Test 1: Producing a Message
    #[tokio::test]
    async fn test_produce() {
        let broker = Broker::new();

        broker.produce("test_topic".to_string(), "test_message".to_string()).await;

        let events = broker.events.read().unwrap();
        let messages = events.get("test_topic").unwrap();

        assert_eq!(messages.front().unwrap().as_str(), "test_message");
    }rust
This test ensures that when a message is produced, it gets stored under the correct topic in the Broker’s events.
Initialization:
- A new Broker instance is created.
- The
producefunction is called with a test topic and message.
Validation:
- We read from the Broker’s events to check if our message was correctly stored.
- The assertion confirms that the stored message matches the one we produced.
Test 2: Testing the Warp Subscription Endpoint
#[tokio::test]
    async fn test_warp_subscribe() {
        let broker = Arc::new(Broker::new());

        let subscribe = warp::path!("subscribe" / String)
            .and(warp::ws())
            .map(move |topic: String, ws: warp::ws::Ws| {
                let broker_clone = Arc::clone(&broker);
                ws.on_upgrade(move |socket| {
                    async move {
                        broker_clone.subscribe(topic.clone(), socket);
                    }
                })
            });

        // Test our filter
        let result = warp::test::request()
            .method("GET")
            .path("/subscribe/test_topic")
            .header("sec-websocket-key", "some_random_key")
            .header("Sec-websocket-version", "13")
            .header("upgrade", "websocket")
            .header("connection", "upgrade")
            .filter(&subscribe)
            .await;

        // Print out more detailed information if the result is an Err
        if let Err(e) = &result {
            println!("Error encountered: {:?}", e);
        }

        assert!(result.is_ok());

    }